
Stained concrete was the ‘next big thing’ some time ago, but its allure has lasted well beyond the industrial design revolution. What once seemed reserved for commercial spaces has worked its way into homes and show homes around the country.
There are many good reasons to consider staining your concrete floors. They are incredibly practical. The durability of these floors makes spills a non-issue. Clean up is typically done with just water or water with a very small amount of mild detergent.
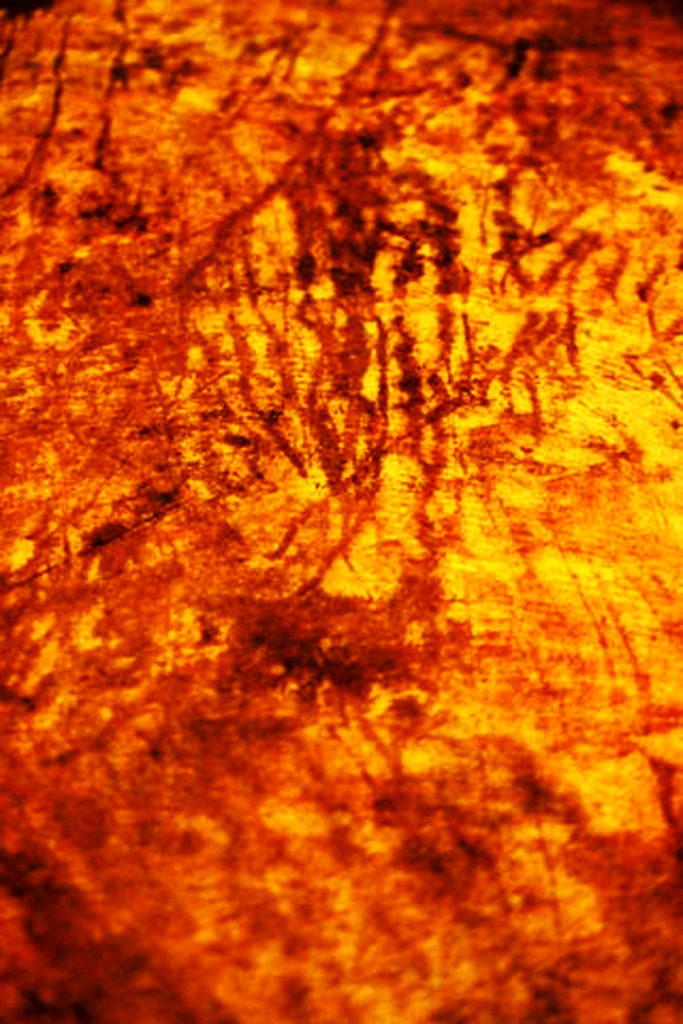
This process yields elegant looking floors for a fraction of the cost. There is a very organic, yet rich-looking nature to a well done, stained concrete floor. You get the look of stone or marble without the expense.
With a wide array of color choices, you can freely express your style. Go wild with colors and patterns or create a neutral backdrop for your fine furnishings. If you are brave enough to tackle scoring the floor, you can create some additional interest.
savour… solid ground
STAINED CONCRETE
I have stained several floors. For my money, the concrete staining products from Kemiko are the answer. If you follow the instructions you will get amazing floors. The steps are easy and the tools necessary are very few. Their product is environmentally friendly and many are LEED certified. There are many distributors around the US. You can find a listing on their website. You will also find a gallery of projects there. Check it out for inspiration.
To be clear, the staining of the floor is the easy part. Prepping the floor for staining is the real work. By taking the time, to begin with a well-prepared floor, you will produce very professional looking results (this same principle, by the way, applies to painting walls). Keep in mind, however, that some flaws in the floor can actually add character. Don’t be afraid to leave some spots. After the stain is applied you may be surprised at what you find.
Before you start:
Be advised that prepping the surface can be very messy. If you are only tearing up carpet then you are in luck. That removes fairly easily. I do recommend cutting it into manageable pieces to take out.
Plan your time accordingly. Depending on the area you plan to stain, this could take days to complete when you factor in the preparation.
Removing any flooring will create some dust (especially tile). Consider removing furniture and covering anything nearby with a drop cloth.
There are some products available that claim to be a concrete stain, but are more like a very thin paint that can still be scraped up. Don’t be misled.
The chemicals actually stain the concrete… really. They also stain everything else they touch. Mask off areas completely. This is not a time to take shortcuts.
There are complete DIY instructions and finishing products at the Kemiko website. You may already use a tile sealer or floor finish (acrylic wax) that you trust. It should be fine. If not, try the Kemiko products. They are very good.
If removing tile, try to smash it with a sledgehammer before you rent the unbelievably cumbersome thin-set removal machine. This is something like a floor buffer, but about 200 lbs heavier. You may have to rent one in the long run, but get the floor mostly stripped before you do.
Tearing your floor apart can really test a relationship. Be prepared to call in reinforcements or, at the very least, to clean up and go out to a nice dinner.
Lastly, there are inevitably some situations that you are going to encounter that I have not covered here. Please email me with any questions and I will get back to you as soon as possible.
What you will (depending on your demolition) need:
- Sledgehammer
- Wheelbarrow
- Hammer
- Knee pads
- Sprayer
- Kemiko concrete stain
- Roll of plastic
- Masking tape
- Mop and bucket
- Broom
The steps:
- Strip the floor of whatever covering it has.
- Remove baseboards as necessary.
- Scrape, sand, and clean the floor.
- Repeat (it has to be REALLY clean and smooth)
- Apply stain with sprayer.
- Allow to dry slightly.
- Apply additional coats as desired.
- Allow to dry completely.
- Mop with clean water.
- Mop as many more times as it takes for water to run almost clear.
- Allow for drying.
- Apply sealer. Allow to dry completely.
- Apply additional coats as desired allowing to dry between each application.
- Apply floor wax and allow it to dry.
- Repeat as desired.
- Replace baseboards, if necessary.


