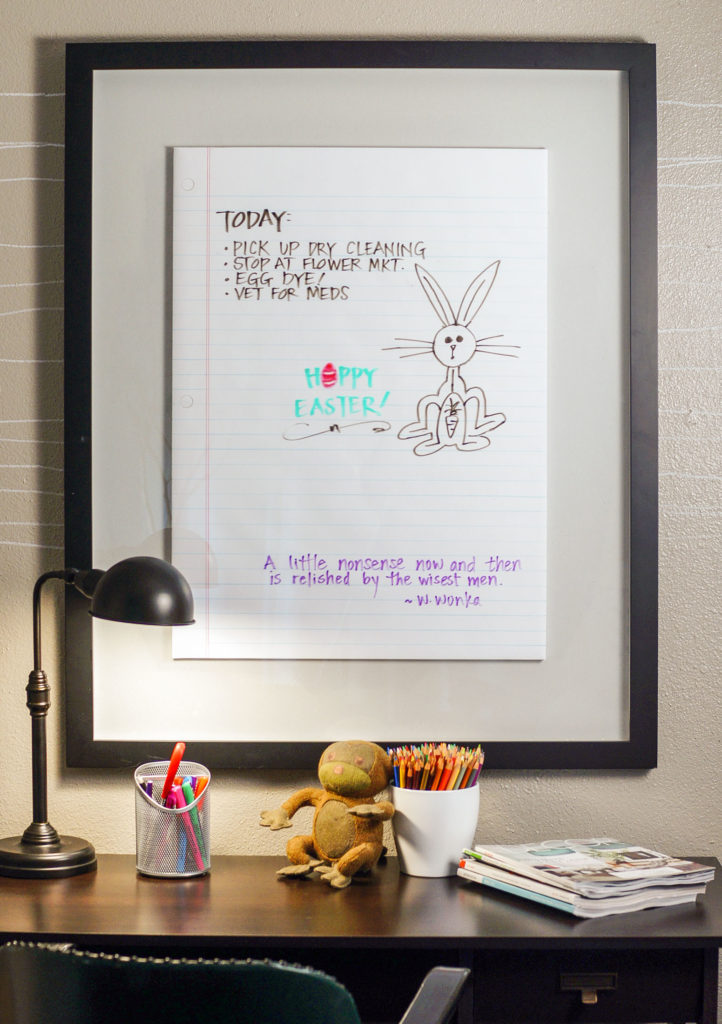
This piece hung over a simple writing desk can be used as your dry erase board, filled with doodles, or a lovely hand-written poem. The materials are very easy to find and the hardest part is working out the math for even lines.
savour… doodle space
DIY DRY ERASE ART BOARD
Before you start:
We completed our project with a shadow box frame. That is not completely necessary, but I do like the added dimension it gives the piece.
Before you spend too much on a new frame be sure to check out yard sales and thrift stores. Never mind what is in the frame as long as it is in good shape. Even the color is of little importance… a quick once over with some primer and spray paint and you are in business.
Because our dimensions were bigger than standard poster board, we opted for a roll of sketch paper. It is readily available in 36-inch widths. We only needed a small portion of it, but this is great stuff to have on hand for all sorts of projects. 10 yards cost about $9 from our local art supply store.
We could not find foam core for sale wide enough for our dimensions so we had to tape two pieces together.
Because this will be written on and potentially touched often, I advise against hanging on a wire. Attaching d-rings will ensure that the piece stays in place.
The materials:
- A frame or shadow box frame with glass
- Foam core (if using a shadow box)
- Bright white sketch paper
- Pencil
- Eraser
- Light blue colored pencil
- Red, colored pencil
- Yardstick
- Spray adhesive
- Circle template
- Grease pencil or dry erase markers
- D-rings for hanging
The method:
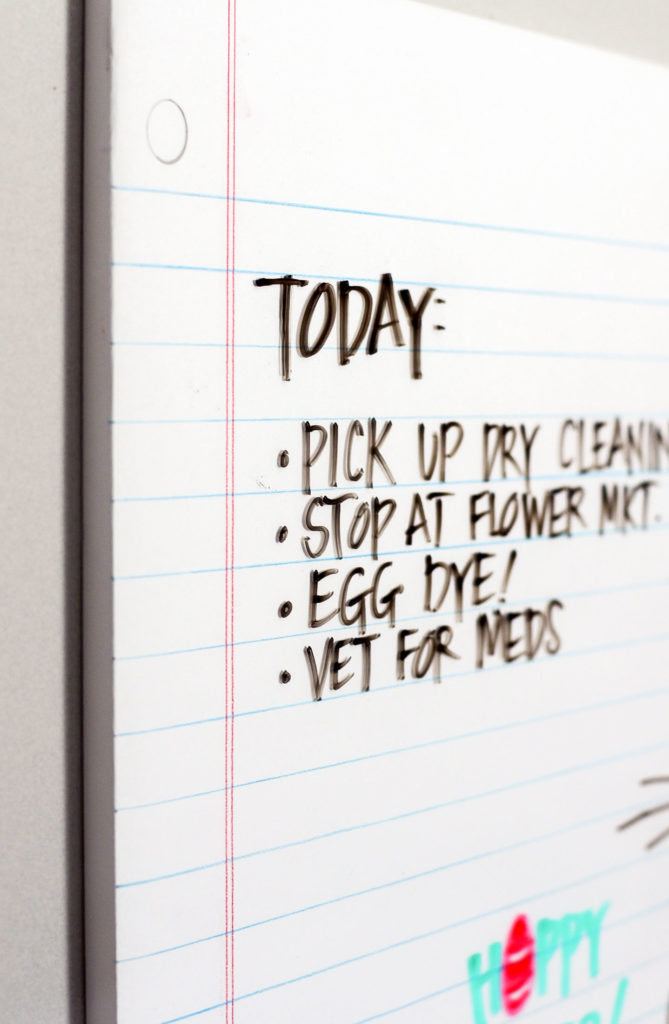
- Determine the size and measurements of your overall artwork. I simply measured the inside of my frame area and left a 4 1/2 inch border all the way around. Then I estimated what a good header space would be by eyesight, rounded off to an even number and measured. I used that as the starting point for the blue horizontal lines.
- If using a shadowbox frame, cut your foam core to the appropriate size with a utility or craft knife.
- Use the foam core as a template for your drawing. Outline it on your sketch paper.
- Starting with the mark from step 1 mark the horizontal lines down both sides of the drawing. I estimated using an actual piece of looseleaf paper (it had 32 lines). Then I divided the space remaining on my drawing by 32. I made a slight adjustment so I could work with an easy measurement. I ended up with 3/4 inch space for each line… 33 lines.
- Using the yardstick and light blue colored pencil, connect the dots from one side to the other taking care to start and stop as close to the dot as possible.
- Make the marks for the red lines which create the margin. Some paper comes with a single red line, but I thought the double line added a bit of interest. We just spaced it about 1/8 inch apart.
- Using the yardstick and red colored pencil, connect the dots from top to bottom taking care to start and stop as close to the dot as possible.
- Make a small mark halfway between top and bottom just outside of the margin on the left. Make another just slightly above the top horizontal line. Measure the distance from the top of the drawing to that dot and measure the same distance from the bottom upward. Make a mark there.
- Use the three marks from step…… as your guide for making the circles that will become the “punched” holes for a three-ring binder.
- Using a circle template, draw a circle at all three points about a third of the way inside the margin.
- Erase all stray lines.
- Mount drawing on foam core, if using, with adhesive spray or tape on the back.
- Mount foam core to frame backer with spray adhesive.
- Reassemble frame and mount to the wall.