It’s mid-winter and it has been a chilly season so far. You have likely seen temperatures falling and energy bills rising. There are many ways to cut back including my favorite… turn down the heat and wear a sweater. That aside, one of the easiest ways to make an immediate impact on your heating costs is caulking.
Caulking will form a flexible seal around windows, doors, and other joints around your home. It is best suited for gaps less than ¼” wide. Some studies indicate that the money you spend on caulking and weatherproofing usually pays for itself after one season. Your time/money investment could even save you for the rest of this season. After all, who knows how long it will last… besides Punxsutawney Phil?
savour… unseen shadows
BASIC CAULKING
Before you start:
While caulking will help with your heating and air conditioning costs, it is also a valuable process for other purposes. I was surprised to learn from the pest control guy how very little space a bug or even rodent needs to get into your home.
Caulking will also keep moisture out of the house and helps prevent mold issues.
Start with a clean surface. Dust off area to be caulked with a dry brush. Do not use water.
Caulk comes in many varieties including silicone-based, water-based, rubber, and latex. For outdoors I recommend a silicone-based caulk. They are excellent for adhesion and can expand up to 3 times their size. In most cases they are paintable.
Wear gloves. Caulk is sticky and often made of skin-irritating chemicals. It gets on your hands easily and I sometimes feel compelled to smooth it or work it in with my fingertips… gloves help.
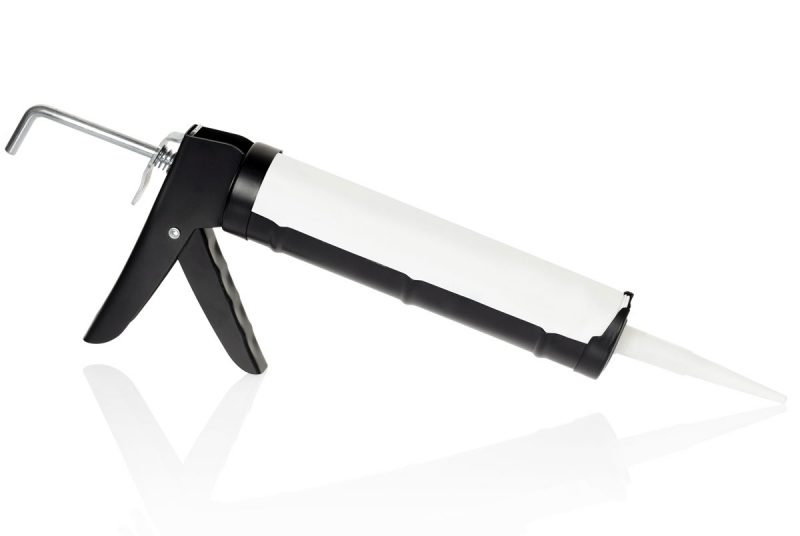
Caulk is offered up in many colors and sizes. If you need white, buy white. If you need a color that isn’t offered, consider clear silicone and paint it. If you are only doing one window, you can purchase your caulk in a disposable tube container. Otherwise, the cylinder type that fits into a caulk gun will be the most cost-effective.
Many caulk guns will be equipped with a small hole on the side of the handle, which can be used as a cutter for the tube tips. Simply insert the tip and squeeze the handle. If yours does not have one, use a utility knife to carefully cut about ¼” of the tip-off.
Now is not the time to skimp. Apply caulk liberally.
Do not caulk weep holes in brick, but do poke some steel wool inside them to block out unwanted guests.
Caulking is best done on dry days when the temperature is above 40 degrees. In the winter months, that might only leave you a few hours in the afternoon to complete your project.
Areas to caulk:
- Windows
- Under window sill
- Soffit and fascia boards
- Pet doors
- Garage doors
- Just about anywhere two dissimilar materials meet
- Door frames
The tools:
- Caulk
- Caulk gun
- Disposable gloves
- Putty knife and/or scraper
- Popsicle stick or craft stick
- Clean cloths
- A utility knife
- Flat screwdriver
The steps:
- Make sure any old caulk is removed from the areas to be caulked. Use the screwdriver as necessary to dig any old caulk out.
- Clean the area with a dry brush to remove dust.
- Cut the tip off of the caulk tube and insert it into a gun.
- Apply caulk to the gap at a 45-degree angle. If the caulk starts by going into the gap as opposed to sitting on top you are doing it right.
- Continue applying in a steady stream. Avoid stopping and starting as it may cause a break in your seal.
- Make sure the caulk is sticking to both sides of the gap to be filled.
- Smooth caulk with a putty knife, popsicle stick, or gloved fingertips.
- Wait 24 hours before painting.


