As a boy, I spent the entire summer outdoors. My days were filled with baseball, walking to the lake, riding bikes, and kool-aid stands. Summer meant taking advantage of three months of the longest days of the year. We packed every single day with fun… right up until the street lights came on, which indicated it was time to be home.
Even when I was required to stay close to home, there was plenty of fun to be had. All that was really necessary was some chalk and a ball for four square. Of course, some of the kids would draw or make hearts around the name of their latest crush. The crushes never lasted long, but neither did the chalk. One quick summer rain would erase any evidence.
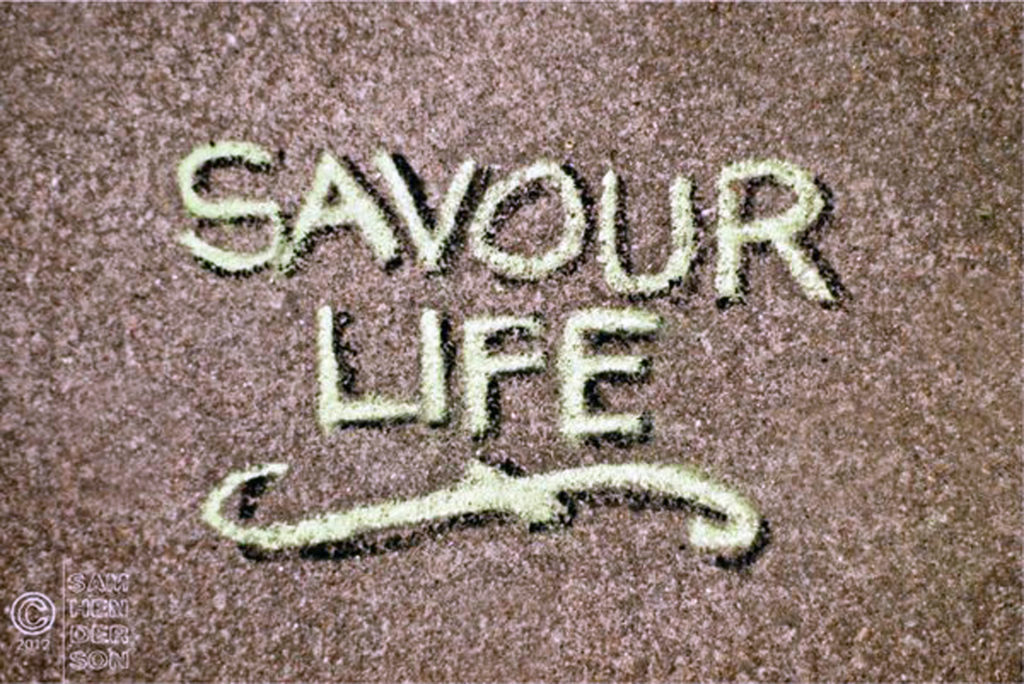
savour…sunny days
SIDEWALK CHALK
Before you start:
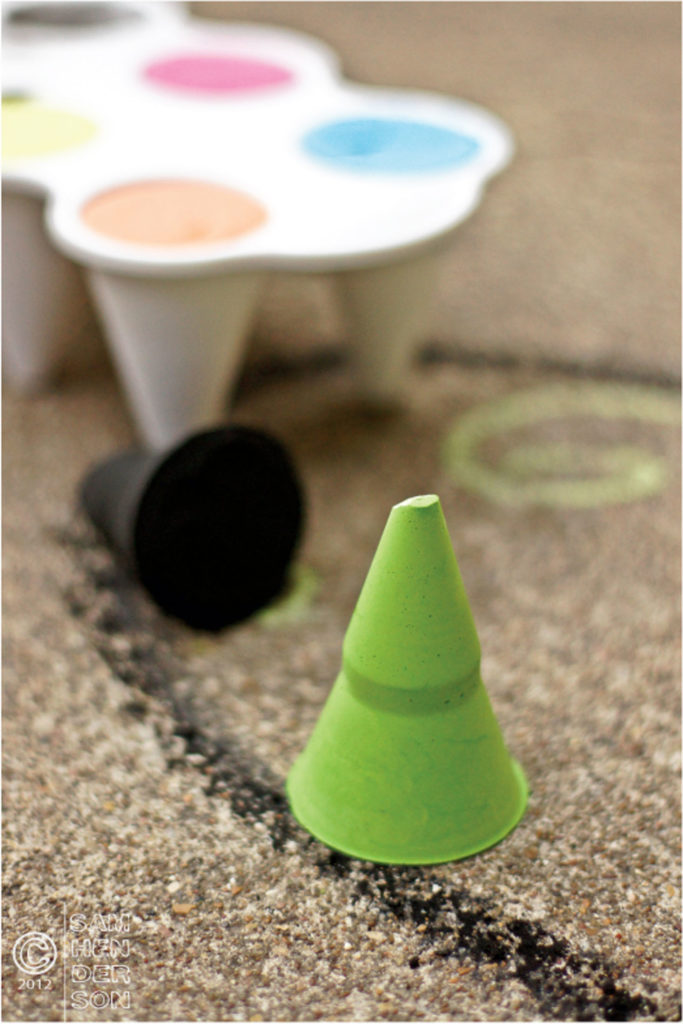
We used a snow cone or ice cream cone holder as our mold. This creates a point on one end and a very broad tip on the opposite end.
Be sure to plan accordingly. This requires some drying time.
Pre-mixed tempera paints will not work the same way. Stick with powder.
Making it yourself means you have more control over the colors. Pre-made sidewalk chalk is typically lacking black, for example.
Experiment by pouring two colors into the mold at once creating a swirled chalk.
For a cylinder, cut a toilet tissue roll lengthwise, overlap the edges creating a tube that is 1 inch in diameter and reseal seam with some duct tape. Stand upright on a tray and fill.
The materials we have listed are for one mold. We only made one color of each.
The materials:
- 1/2 cup plaster of Paris
- tempera paint powder
- 3 oz. water
- mold
The steps:
- Mix the plaster of Paris and water in a glass or metal bowl. It will be quite lumpy and require some vigorous stirring.
- Add as much tempera paint powder as you like to attain the desired color. Stir again until well combined.
- Pour into the mold of your choice and gently tap against a solid surface to remove any unwanted air pockets.
- Allow it to dry for at least 24 hours before releasing it from the mold.
- After releasing dry for another 24 hours before using.