Food science is amazing. By just changing a variable here or there you end up with a completely different experience. Whipping cream answers the call every time by changing from its liquid state to a light and fluffy topping. All you have to do is add a little flavor, air, and time.
If you do not make homemade whipped cream I encourage you to give it a try. You will be amazed at the difference in taste and texture. In fact, unless you have some incredibly good reason to use the processed sort or, heaven forbid, the non-dairy one, you will probably never turn back. It could not be easier and the basic recipe only has three ingredients.
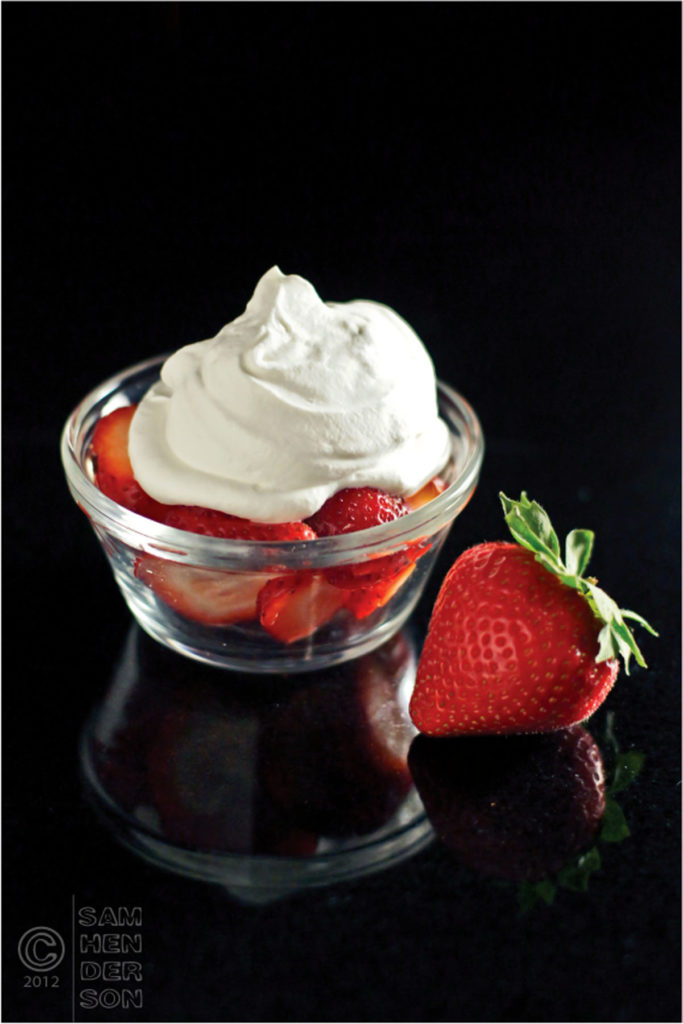
savour… sweet dollops
BASIC WHIPPED CREAM
Before you start:
Check the date.
If you have more than you can use, freeze it. Just make serving size mounds on a parchment sheet and place it in the freezer. When completely frozen you can place in a storage container. Remove just what you need and allow it to thaw for 5 minutes at room temperature before using.
Soft peaks or stiff peaks? The choice is up to you. For most toppings, soft is the way to go. As an ingredient in recipes stiffer peaks can add a little more volume.
Starting with a clean, ice-cold, steel bowl is the quickest path to success. This will greatly reduce your time in the kitchen.
You can add just about any flavor to the cream. Put it in before you start mixing. Some examples are 2 tablespoons cocoa powder (add additional 1 tablespoon sugar), 1 teaspoon instant coffee or espresso, 2 tablespoons of any liqueur, a teaspoon of citrus zest, and, of course, other extracts.
The ingredients:
- 1 1/2 cups heavy whipping cream
- 2 tablespoons confectioners’ sugar
- 1/2 teaspoon vanilla
The method:
- Place all three ingredients in a chilled mixing bowl.
- Beat on medium to medium-high speed until soft peaks form (about 2 -3 minutes depending on the speed of your mixer).
- Beat longer for stiff peaks (about 1 more minute).
- Serve chilled and refrigerate the remainder.