For some reason, pie crust seems to be a kitchen challenge for many. True enough, there are pie doughs and pre-made crusts in grocery stores, but they do not compare to a well-made crust from your kitchen. Not only do you have more control over the texture, but you also get to be in control of the ingredients.
Pie crust doesn’t have to be that complicated. Once you learn the basic rules and understand why they are important to follow you will be on your way to pie crust nirvana. Then the sky is the limit. Fill it with all sorts of things. What we offer up today is a basic butter pie crust. It can be used for sweet or savory fillings.
savour… a slice of heaven
PIE CRUST
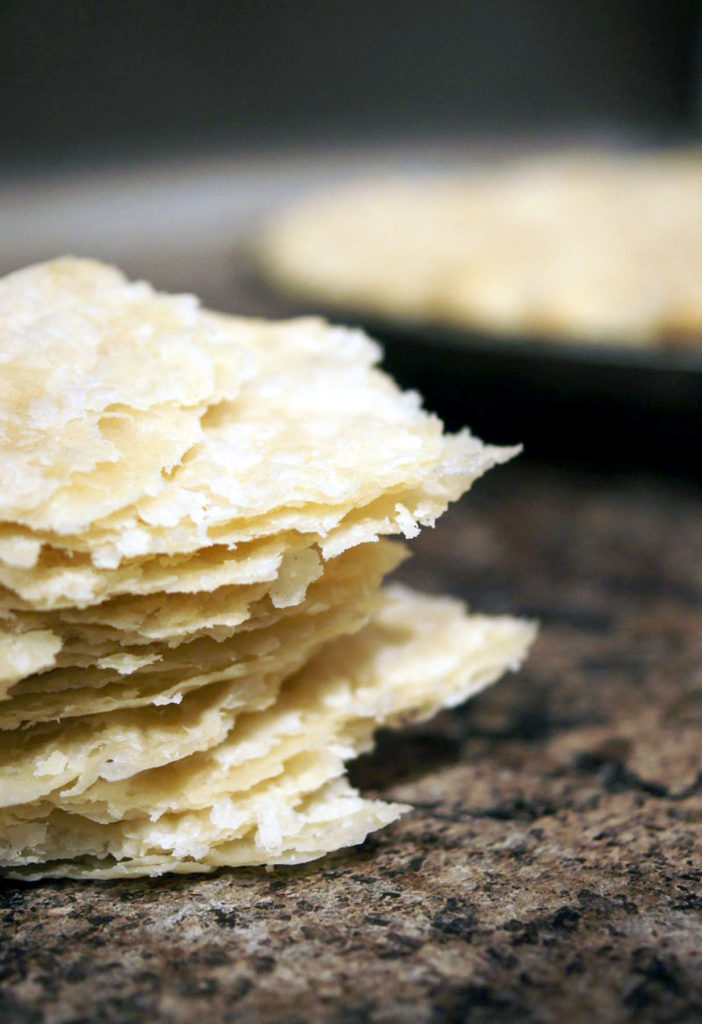
In order to achieve that flaky perfection, you must form pockets of fat covered in flour. That is why it is paramount that the ingredients be cold… seriously cold. I leave nothing to chance here. In fact, if I am working with many crusts, I sometimes put water in a cocktail shaker with ice to make sure I have jet cold water going into my dough. If the fats become soft they will blend with the flour and yield a tough crust without flaky layers.
Use pastry flour or all-purpose flour. Bread flour will have too much protein in it to make a tender crust. Cake flour may have too little protein to make a workable dough.
There is much debate over which fat to use. Crusts made with all butter are more flavorful, but not as flaky as those made with some or all shortening or lard. Shortening will produce a dough that holds its shape better, but the flavor will not be as rich. This is a choice you will have to make for yourself.
Before you start:
All ingredients should be cold; the colder, the better. I like to even put the dry ingredients in the freezer for 30 minutes or so before I begin.
Sift the flour before you measure. Then sift all of the dry ingredients together and put them in the freezer until you are ready to use.
Always add the water a tablespoon at a time to avoid adding too much water.
You must work quickly. Do not overwork the dough. The key to a successful pie crust is to keep the fat pieces intact as much as possible.
The ingredients:
- 2 ½ cups all purpose flour + extra for rolling
- 1 cup unsalted butter (2 sticks)
- 1 teaspoon sugar
- 1 teaspoon salt
- 6-8 tablespoons water
The method:
- Cut the butter into ½ inch cubes by slicing the stick of butter down the center lengthwise and again on the other side to create 4 long strips. Then cut the four sticks into cubes. Place in the freezer for 30 minutes.
- Place dry ingredients in a food processor and give it a few pulses to be sure it is well mixed.
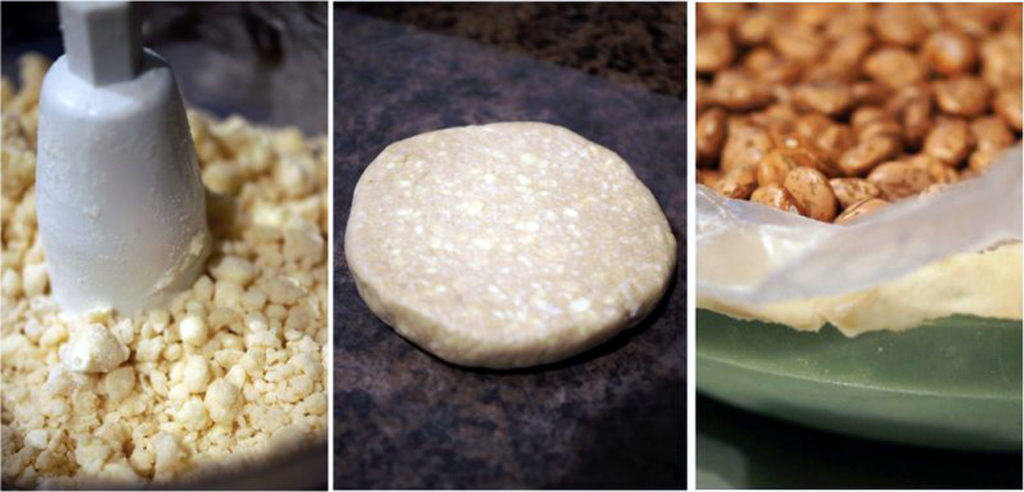
- Place butter cubes in the food processor and give it 8-10 pulses until you have small pea-sized pieces of butter coated in flour.
- Add the icy cold water one tablespoon at a time and give the dough a pulse after each addition. The dough is done when it looks crumbly but holds together when you pinch it.
- This recipe makes two crusts. Divide it in half and knead each portion just enough to shape it into a disc. Wrap each disc in plastic wrap and transfer to the refrigerator for at least one hour or up to 2 days.It could be placed in the freezer and used up to 2 months later.
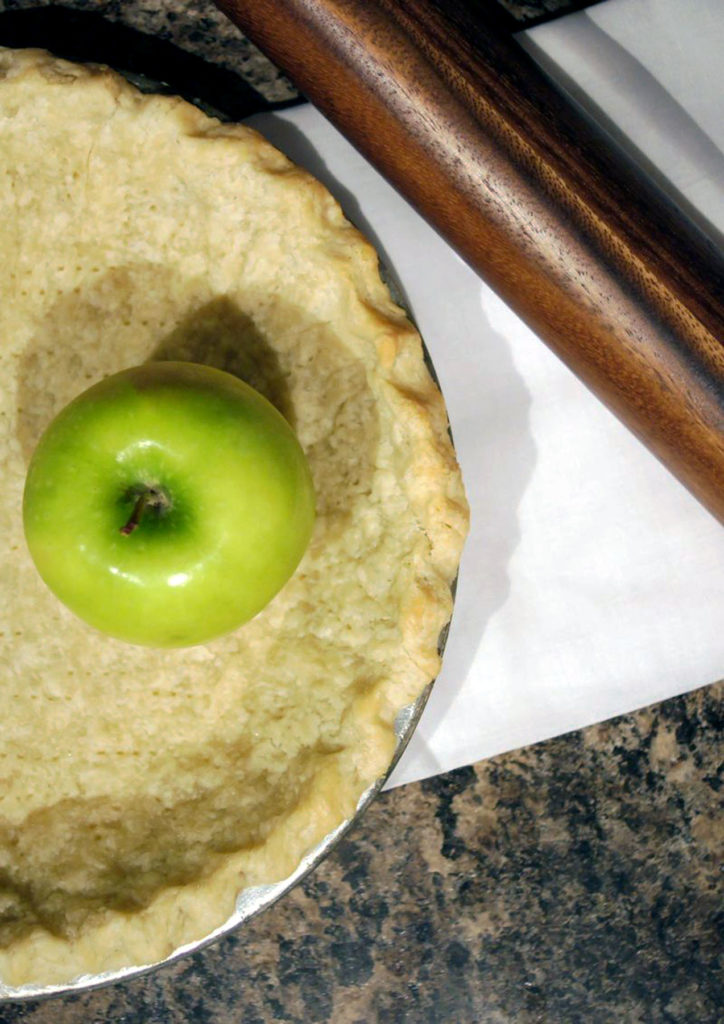
- Roll out the dough and press into the pie pan.
- Freeze unbaked pie crust for at least 1 hour.
- If the recipe calls for a pre-baked or blind-baked crust, line crust with waxed paper and fill with pie weights of some kind (I use dry beans).
- Bake for 20 minutes at 375˚F. Remove pie weights. Bake for 10 minutes more.
- If using dough unbaked, follow pie directions for cooking times.
Rolling out the dough:
Many people use a plastic wrap or wax paper method with much success. By rolling it out on the wrap or paper they are able to transfer the crust to the pie pan. I prefer to roll my crust out on a clean, lightly floured surface. To do it that way be sure to:
- Make sure your rolling pin is floured.
- Use a bench scraper to loosen the dough from the counter if necessary.
- Roll from the center outwards pressing with equal and consistent pressure.
- Continue rotating crust after each roll.
- Roll the dough onto the rolling pin and then unroll it onto the pie pan.
- Press the dough into the pan and cut off the excess.
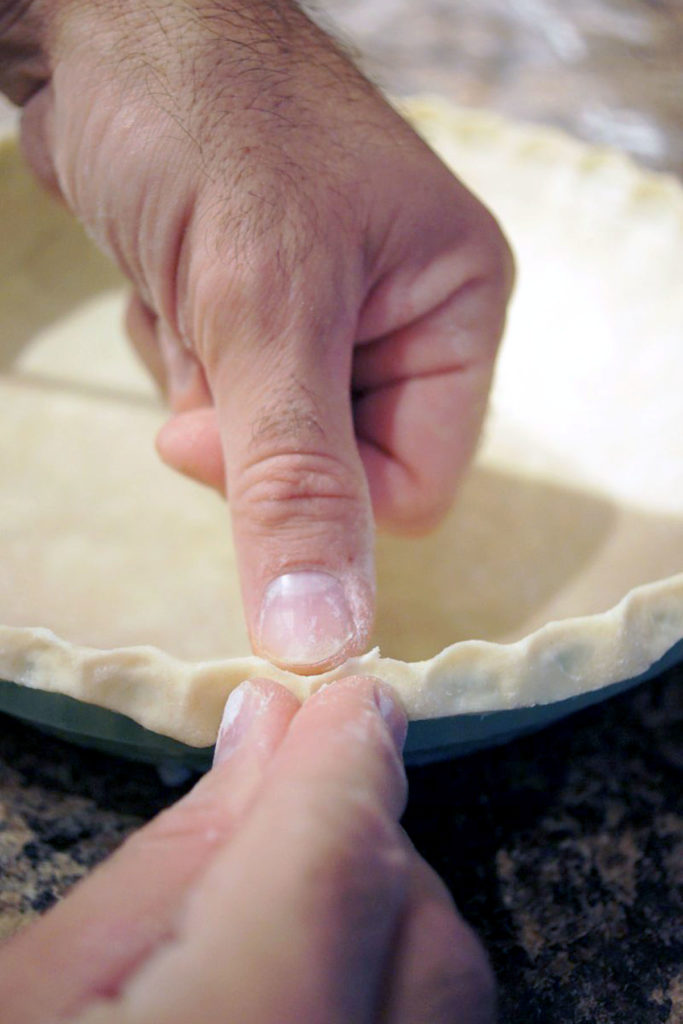
- To flute the edge press your finger and thumb together as if you are pinching something and press it against one side of the crust while your press against the space between your finger and thumb with the tip of your other thumb from the other side of the crust.
To keep the pie crust edges from getting too dark while the filling cooks, cover the edge with a pie crust shield.
To make a pie crust shield:
- Before you start making crust turn your pie pan over on a sheet of aluminum foil.
- Trace a circle around the pie pan with a pencil (don’t press too hard)
- Remove the pie pan.
- Draw a circle approximately 1 inch inside the circle and one about 1 inch outside the original circle. Cut out the using the inside and outside circle as your guides.
- Place the ring around crust edge and shape gently to keep in place.
More tips:
- Glass, ceramic, and dull metal pie pans are best.
- Pizza stones are great for pies. Be sure to put the pie on a baking sheet to keep spillovers from hitting the stone. Place the baking sheet directly on the stone on the rack. This will ensure that the bottom of the pie crust gets completely cooked with the rest of the pie.
- Use an egg wash of 1 large egg yolk and 1 tablespoon of milk or cream for a lovely rich finish on the top crust.
·To seal a pre-baked crust try brushing it with egg white after the 10 minutes are up and bake for an additional 3 minutes.
Do not forget to cut vents of some kind in top crusts. This could be simple slits or more fancy shapes. Failure to make vents will result in either a dome-shaped crust with the filling far below or a colossal mess in your oven when the steam blows the top off of your pie.
Although some recipes will call for you working the fat and water in with your fingers, I recommend that you avoid it. Your fingertips are warm… and for this process, heat is the enemy. If you do not have a food processor, use a pastry blender or two knives.
I may have missed some tips here. If you have tried and true methods, please share. Finally, pies take practice. You will only get better at it with experience. Make some mistakes… it’s only dough.