
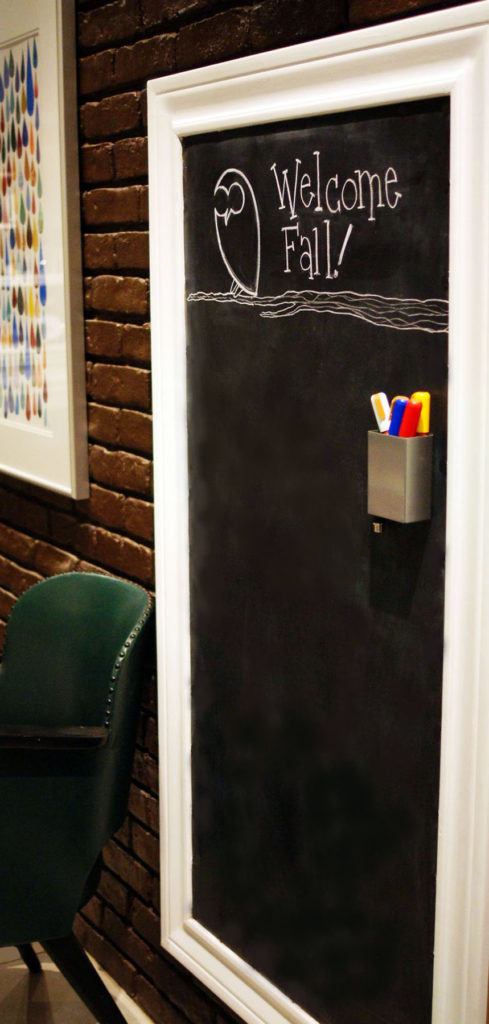
Chalkboards are such a great thing to have around the house. They are perfect for jotting quick notes, posting the menu, or creating changeable art. Making a custom sized chalkboard is easier than you think and you can add in some features that you wouldn’t be able to get from a store-bought version.
The chalkboard in our photos today has the added benefit of being metal-based for magnets. This makes it perfect for the kitchen or mudroom or wherever you call your hub. Making your chalkboard magnetic dramatically enhances its usefulness. This is an excellent place to store postcards, invitations, signed school forms, etc. For a few dollars, you can even find magnetic storage containers to hold your chalk pens. Check a craft store or teacher supply store.
savour… a clean slate
KITCHEN CHALKBOARD
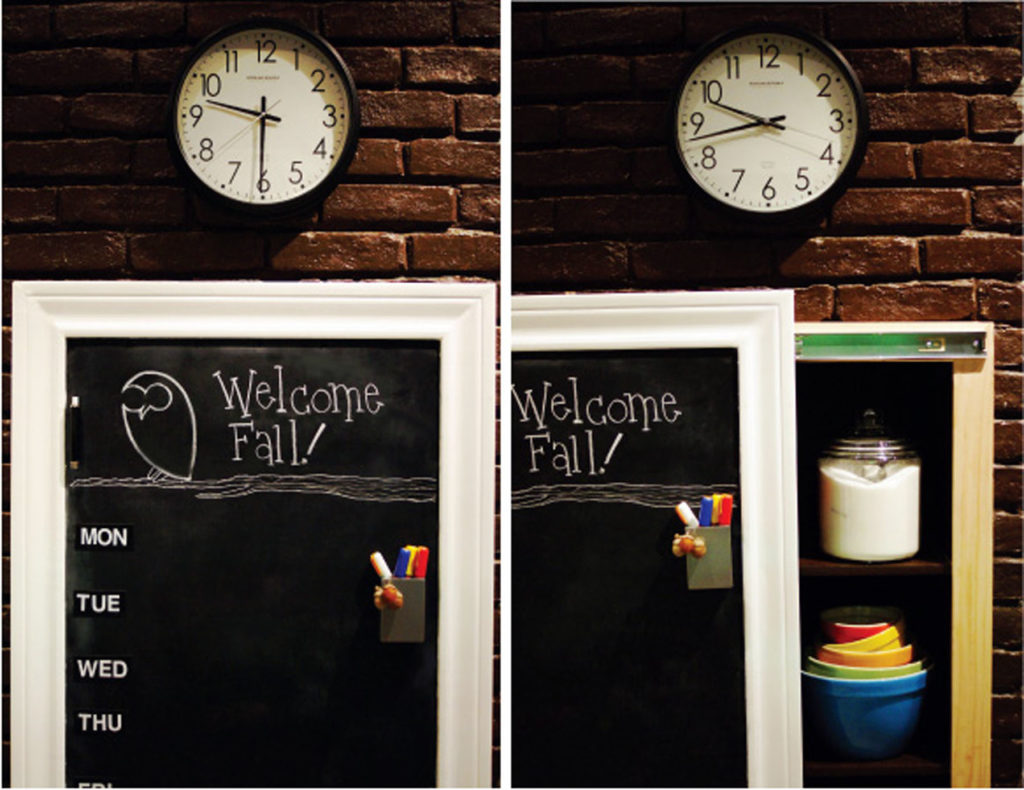
If being a magnetic chalkboard wasn’t useful enough this one also serves as a sliding door for a cabinet. What sits behind the chalkboard is a former double oven space that has been converted into storage space (plus a resting spot for one very old kitty). We simply attached the chalkboard using drawer slides from the hardware store.
Before you start:
Not all metals are created equal. Make sure yours is magnetic. Bring a small magnet with you and test it.
Use magnets with smoother edges so it doesn’t scratch off any of the paint.
Alternatively, if you have a pre-made frame that you would like to use you can just have the sheet metal and backing board cut to fit and attach the frame with wood glue and nails.
While you will usually find a wide selection of sheet metals at the home improvement center, they will likely be of a “standard” size. If you need something with more custom dimensions you may have to visit a metal shop.
Someone very wise once said, “Measure twice; cut once”. This is some of the best DIY advice I could ever offer. Be sure of your measurements before you commit to the cut.
Perform the application of liquid nails in a well-ventilated area.
What you will need:
- Sheet metal (thin gauge)
- Liquid nails
- Sandpaper (medium grit)
- Steel wool pad
- MDF (medium-density fiberboard)
- Moldings (at least 3 or 4 inches wide for impact)
- Wood glue
- Finishing nails
- Nail set
- Hammer
- Wood putty
- A table saw or a handsaw with a miter box
- Primer
- Chalkboard paint
- Paint for trim
- Chalk
The method:
- Determine the desired overall size for your board.
- Visit your local home improvement center or metal shop to purchase your sheet metal.
- Purchase/cut your MDF. It should be the width of the metal (in inches) plus the width of the (molding x2) minus 2 inches. The result should be a 1-inch overlap between the metal and the molding. Apply the same math to the height measurement.
- Apply the liquid nails to the board and one side of the sheet metal.
- Follow directions on the adhesive container to allow curing time before pressing materials together.
- Press the two surfaces together leaving equal space on all sides.
- Lay the board/metal on a flat surface and load up with heavy books.
- Allow for the required drying time.
- Meanwhile, cut and paint the frame using the moldings you have purchased. Use a miter cut for more finished corners.
- When the adhesive has dried, rough up the sheet metal all over with the sandpaper.
- Following the manufacturer’s instructions, spray primer evenly over the metal surface.
- Allow the primer to dry and repeat.
- Lightly rub out any rough spots with steel wool.
- Following the manufacturer’s instructions, spray chalkboard paint evenly over the primed surface.
- Allow the paint to dry per instructions and repeat.
- When the paint is dry, rub a piece of chalk over the entire chalkboard surface. Erase.
- Using wood glue and finishing nails attach your molding pieces. Be sure to place a small amount of glue along the edges that will butt up against each other at the corners.
- Sink the nails with the nail set and fill with wood putty.
- Lightly sand putty when dry and touch up paint as necessary.
- Paint edge of backing board to match molding or finish out with another piece of trim if desired.
- Use a hanging device of your choosing or just lean against a wall.


