I have been reluctant to put whoopie pies on this site for some time. They seem to be everywhere already and I prefer to be on the front end of waves whenever possible. You may not see them here again for some time, and if/when you do, I promise a new spin.
I decided to add them this week only because they are part of a wedding favor I am working on for the weekend. It has consumed a great deal of my “spare” time so I thought I would kill two birds with one stone. Although they are a bit ubiquitous, they are delicious, and having a good recipe for them in your book couldn’t hurt.
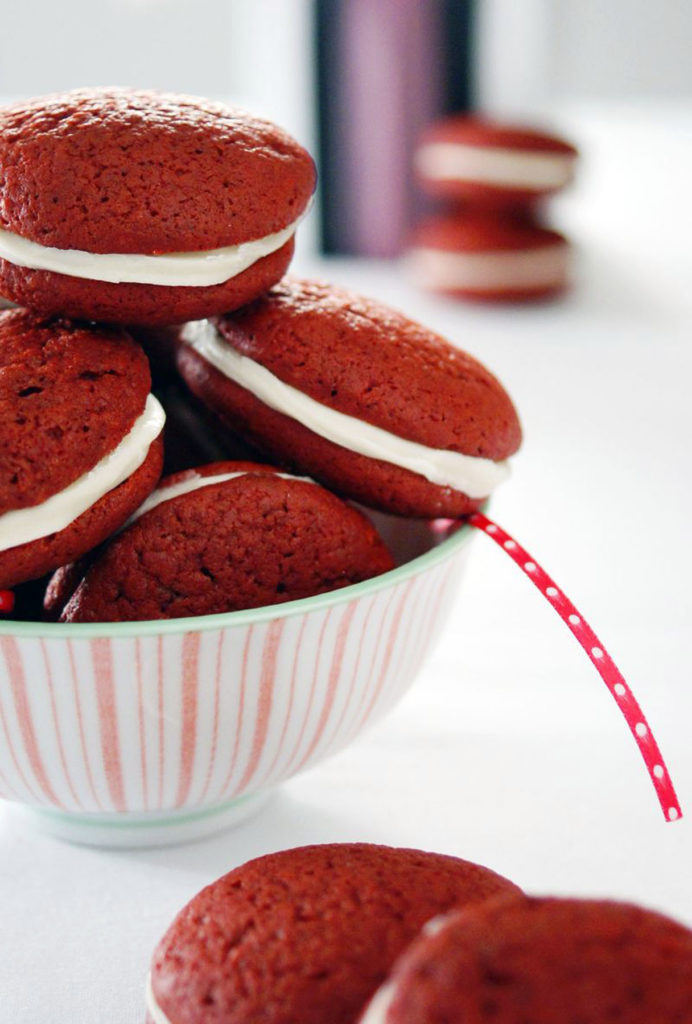
The overall flavor of this treat is very well balanced. The red velvet cakes are not overly sweet and the cream cheese in the filling also counters some of the sweetness. The cakes should be made somewhat soft with just a little bit of a firm edge. For the wedding favor, we have boxed these soft cookies with an oversized Cardamom Wedding Cookie. This pair was made for each other.
savour… soul mates
RED VELVET WHOOPIE PIES
Before you start:
Scoop your dough and then scrape off the excess to ensure equally sized cookies.
Be careful not to burn your chocolate. Microwave it on defrost and check every 30 seconds.
The ingredients:
For cookies:
- 1 ounce semisweet chocolate
- 1 ounce milk chocolate
- 12 tablespoons butter, melted
- ½ cup sour cream
- 2 eggs
- 1 teaspoon apple cider vinegar
- ½ teaspoon vanilla
- 1 tablespoon red food coloring
- 2 ¼ cups all purpose flour
- 1 cup granulated sugar
- ¼ cup cocoa powder
- 2 teaspoons baking powder
- ¼ teaspoon baking soda
- ½ teaspoon salt
For filling:
- 8 ounces cream cheese, room temperature
- 3 tablespoon butter, room temperature
- 2 ½ cups confectioners’ sugar
- 1 teaspoon vanilla
The method:
- Preheat oven to 375˚F.
- Melt chocolate in the microwave.
- Sift together flour, sugar, cocoa powder, baking powder, baking soda in a bowl. Whisk it to make sure it is well combined.
- Place butter, sour cream, eggs, vinegar, vanilla and food coloring in a bowl. Mix on medium-low speed until well combined.
- With the mixer on the slowest speed, add dry ingredients to wet ingredients gradually. Mix just until combined.
- Add melted chocolate and mix until well combined.
- Use a scoop to fill parchment-lined trays with cookies.
- Moisten fingertips with water and smooth out any rough edges on your cookies to ensure good circle shapes.
- Bake for 9-10 minutes or until sides are somewhat firm and top springs back when pressed.
- Allow cookies to cool on the tray for 5 minutes before transferring them to a cooling rack to cool completely.
- Place all of the filling ingredients in a mixing bowl. Mix on medium speed until smooth.
- Apply filling to one cookie with a knife or piping bag and tip. Sandwich with another cookie.
- Store in an airtight container.