
Today we are taking a break from food posts to bring you a little art project. I have made a commitment to finish the boys bedroom redux this month and I needed an art installation for one of the walls. This art project was an easy way to add an urban edge and tie some of the colors together. I am hanging the pieces off of a pipe rail, but I will show that detail in another post.
The inspiration for these pieces came from some art hung in the hotel lobby where we stayed in Memphis on our recent Holiday Road Trip. The ones in the lobby were 3 feet square and ours are only 1-foot square, but the idea works for either set of dimensions. The key to using other’s art as inspiration is that you need not worry about being exact. You don’t even have to do a “professional” job as long as it is staying in your home. For my purposes, this art was meant primarily to carry out a theme and add some color. Mission accomplished.
savour… public display of inspiration
GEOMETRIC ABSTRACTS
Before you start:
Don’t be disappointed if you don’t get quite the same results. The original artist may have made many attempts or taken hours to complete one painting. Mine took 45 minutes for three.
I find that oil paints work best for this project as they stay “wet” and can be moved around for a longer period of time.
Buy canvases that are pre-stretched on frames and pre-primed.
Choose colors that are ready from the tube unless you want to take on mixing. If you do mix make sure you make enough to complete the whole project. Matching can be tricky.
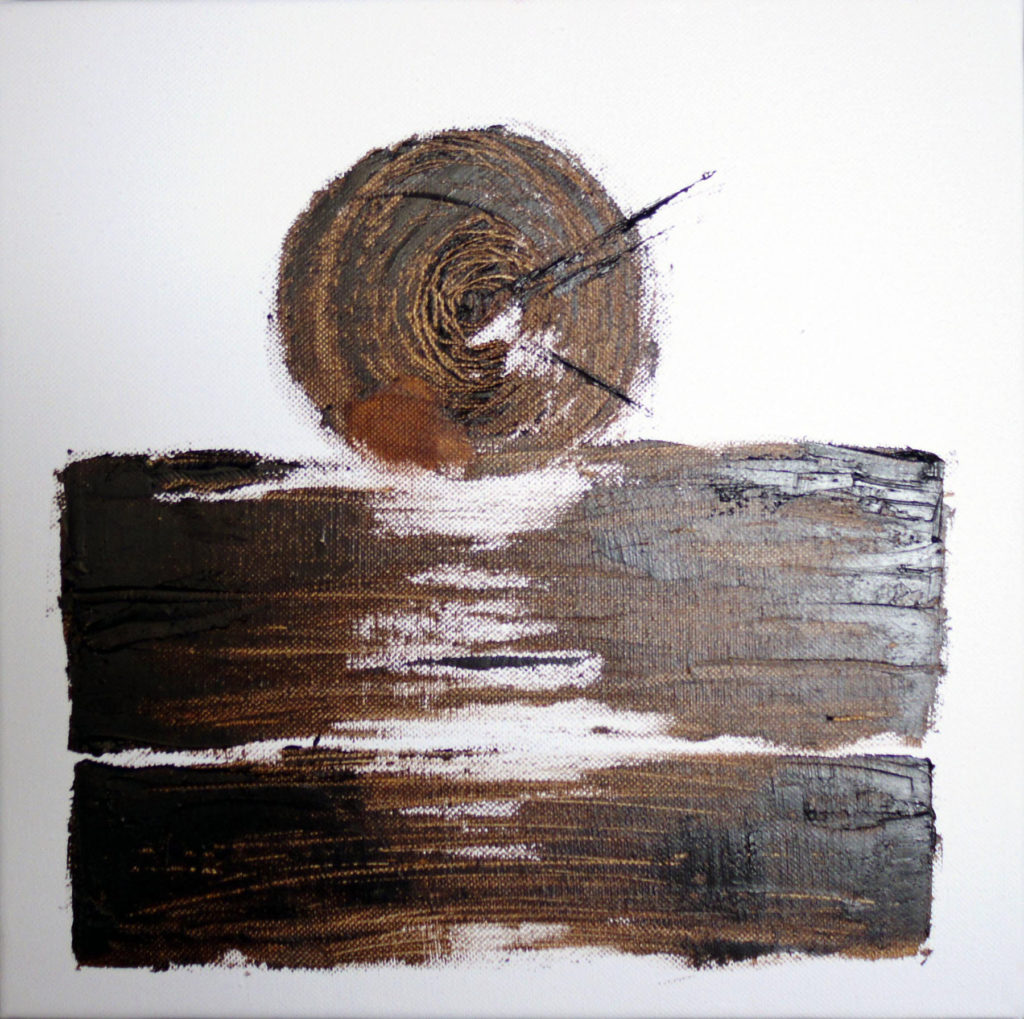
This painting was done with two tools: an artist’s spatula and a toothpick (well, really 3 toothpicks).
There is a reason you wore a smock in kindergarten. Paints are messy. Wear clothes that you don’t care about and remove jewelry.
If you don’t have an artist’s spatula you could use a small putty knife or kitchen offset spatula.
If you don’t own an artist’s palette you could use a smallish board or a piece of foam core.
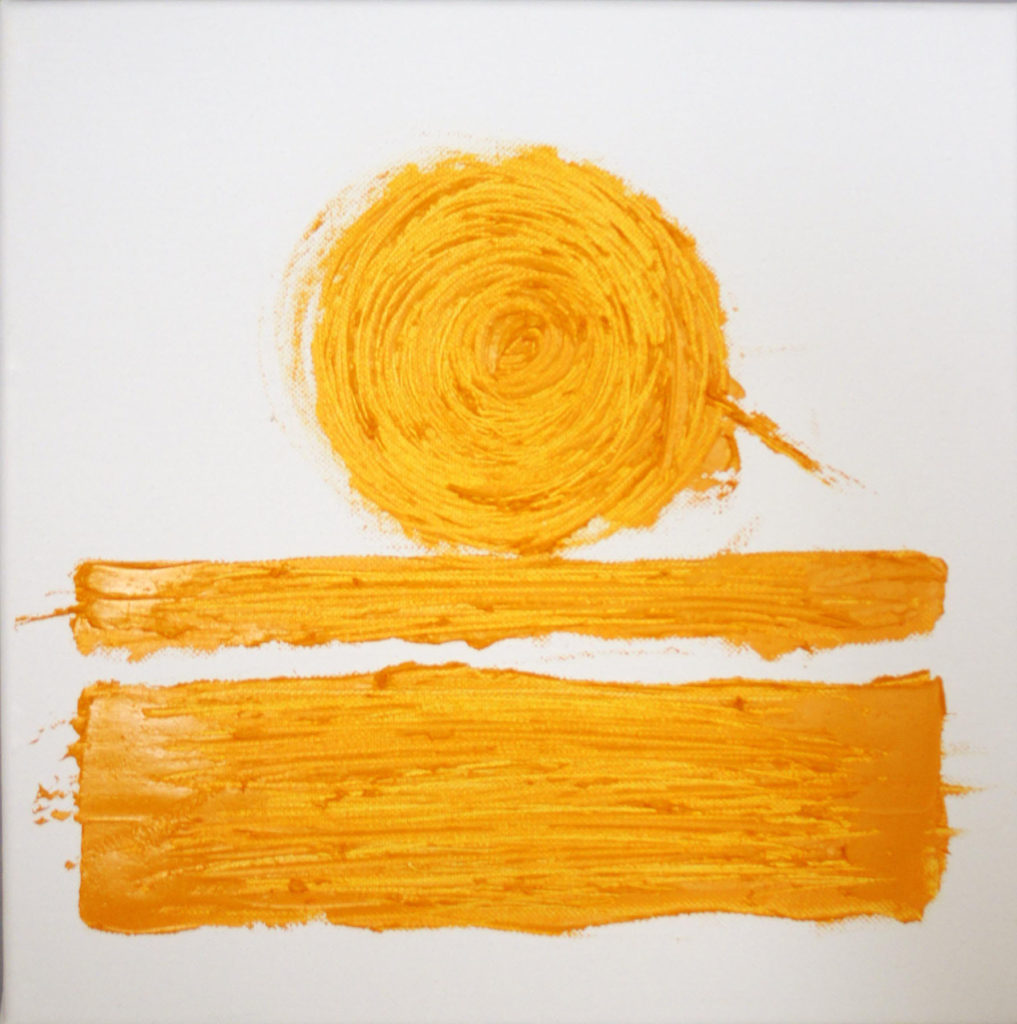
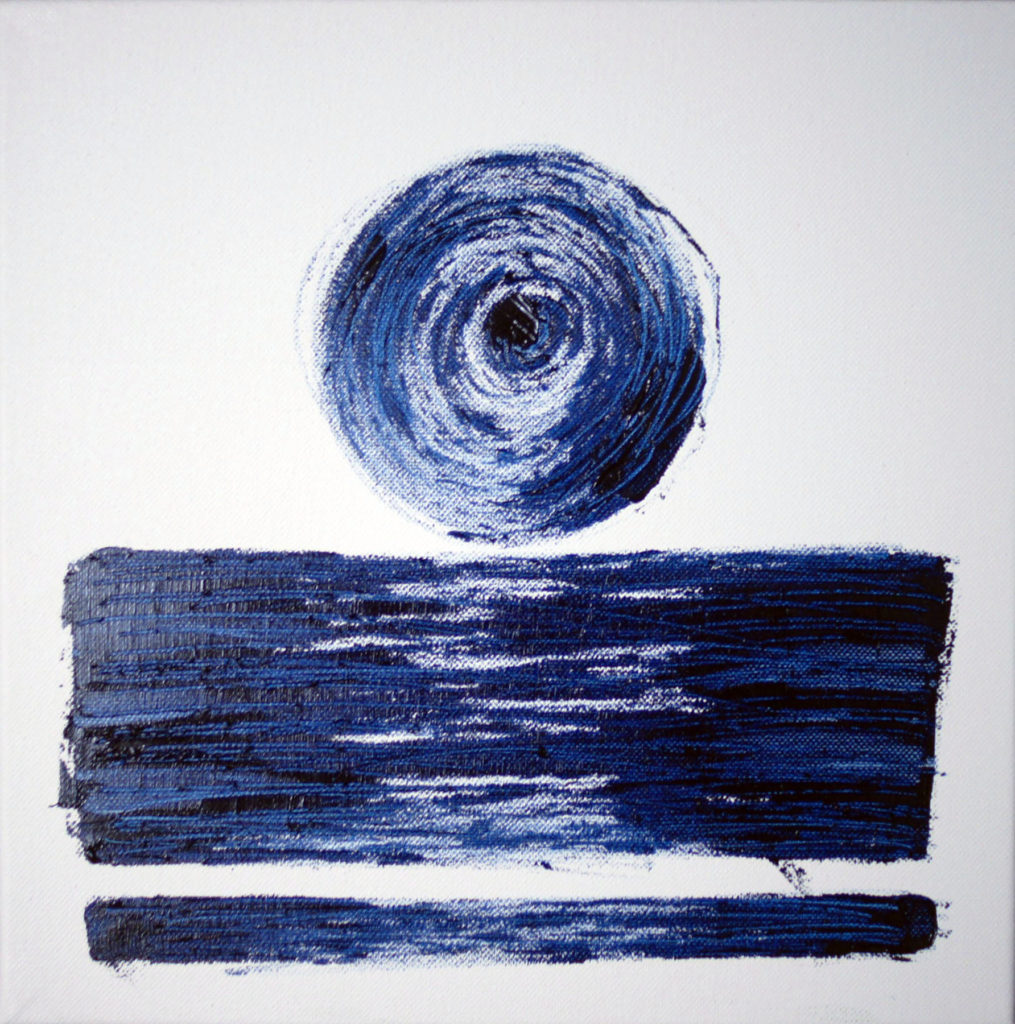
These are the inspiration pieces:
The Materials:
- Square canvas
- Oil paints of your choice
- Pallette
- Artist’s spatula
- Toothpicks
- Newspaper or drop cloth
The steps:
- Draw your idea on a piece of paper the same size as your canvas. This will help you get the proportions right when you take the oil to the canvas.
- Layout newspaper on the floor or table. Put your canvas flat and lay your sketch right next to the canvas.
- Drop globs of paint in various sizes within the area that will make up the circle. Don’t put too much to start… you can always add a little more as you go along.
- Starting in the center, work your toothpick in a circular motion from the inside to the outside of your circle. Make lots of circles and keep it circular. Add more paint drops as needed. The trick is to have more paint in some spots than others. This will give it a more organic feel.
- Smooth out some areas with the spatula and scrape away some areas with the spatula for contrast and texture.
- Using the spatula make bold strokes from either side of the canvas to make up one of the bars under the circle. Decide how big you want the first one to be, leave a space, and make a second one underneath.
- Using the toothpick, make back and forth lines throughout the bars.
- Use the spatula to add a little more paint to the outsides of the bars for texture and lightly drag some of it toward the center.
- Make thin lines from the center outward with a toothpick or the edge of the spatula.
- Allow to dry for several days before hanging.


