Sourdough bread is a type of bread that is made using a sourdough starter, which is a mixture of flour and water that has been allowed to ferment over time. The natural yeasts and bacteria present in the mixture consume the carbohydrates in the flour and produce lactic acid and acetic acid as byproducts, which give the bread its characteristic tangy flavor and aroma. Here we present our best recipe for no-fail sourdough bread.
What makes sourdough bread unique is the way it is leavened. Unlike commercially produced bread that uses commercial yeast to rise, sourdough bread relies on the wild yeast and bacteria that are naturally present in the environment and in the sourdough starter. This slow fermentation process not only gives the bread its unique flavor and texture but also makes it more nutritious and easier to digest. The long fermentation allows the enzymes to break down the gluten in the flour, which makes it more digestible for people who are sensitive to gluten.
Sourdough bread is also unique in the sense that it is a living food. The sourdough starter is a living culture that needs to be regularly fed and cared for, much like a pet or a houseplant. The longer a sourdough starter is allowed to ferment, the more complex and varied the microorganisms present in it become. This can result in a more flavorful and complex bread, as well as a bread that is more unique to the region in which it is produced.
Overall, sourdough bread is a unique type of bread that is prized for its flavor, texture, and nutritional benefits. Its reliance on natural fermentation and wild yeast and bacteria makes it a more sustainable and traditional form of breadmaking, which is why it has become increasingly popular in recent years.
SOURDOUGH STARTER
Before you start:
It seems like a lot of waste to discard so much starter, but if you didn’t do it you would end up with far too much starter. This also makes it easier for the starter to grow.
Like so many things in baking, there is some science involved here. If your home is generally on the cooler side, use lukewarm water. If the room temperature in your home is on the warmer side, use cool water.
TOTAL TIME: 5 days 50 mins
YIELD: enough starter for continued baking
The Ingredients:
To Get Started:
- 1 cup whole wheat flour
- ½ cup lukewarm water
To Feed the Starter:
- 1 cup all-purpose flour
- ½ cup lukewarm water
The Method:
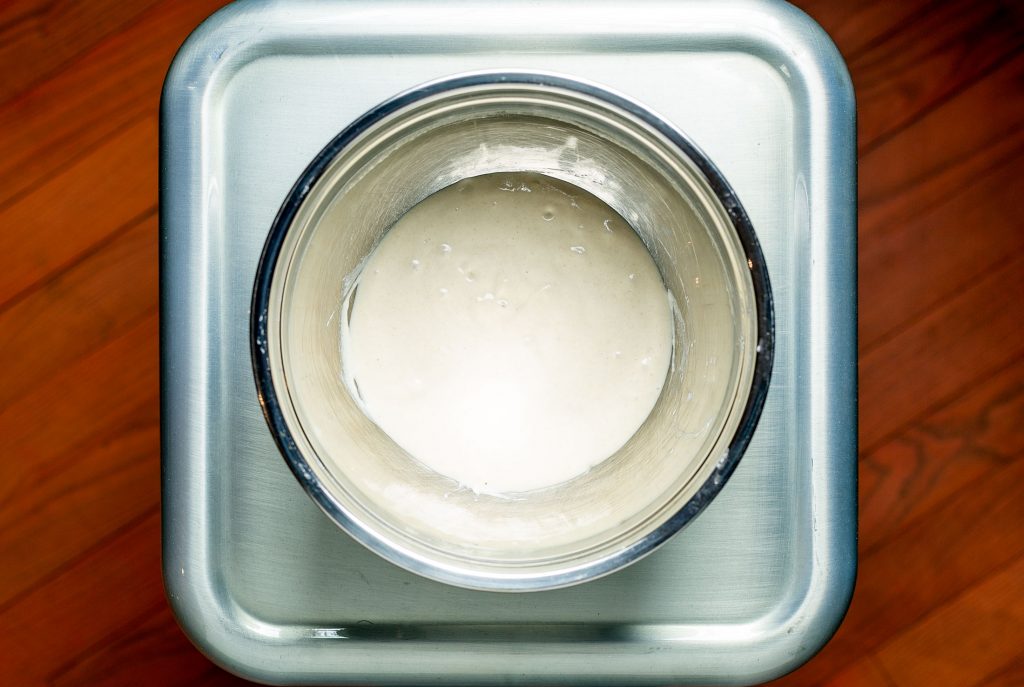
- Day 1: Mix the wheat flour and water together in a glass or stainless steel bowl that can hold at least one quart. When no dry flour remains, scrape down the sides of the bowl with a rubber spatula, cover the bowl loosely with plastic wrap, and let it rest at room temperature for one day.
- Day 2: You may begin to see some activity at this point, but don’t be alarmed if you don’t. Remove ½ cup of the mixture and discard it. Add 1 cup of all-purpose flour and ½ cup lukewarm water. Stir to mix the ingredients completely, scrape down the sides, and cover again loosely with plastic wrap. Let it rest at room temperature again for one day.
- Day 3: Things will have started to change by this point. You will likely see notice some growth, bubbling, and change in the aroma. From this point, you will begin feeding twice a day, about 12 hours apart, but that is not too strict. Begin each feeding by stirring down the starter. Remove a hearty ½ cup of starter and discard the remainder. Return the ½ cup to the bowl and add 1 cup of all-purpose flour and ½ cup lukewarm water. Mix completely, scrape down the sides of the bowl, and cover loosely with plastic wrap. Let it rest at room temperature for 12 hours before feeding again.
- Day 4: Repeat Day 3
- Day 5: Repeat Day 3. At this point, your starter should be ready. You should see quite a lot of change in your starter. It will likely have doubled, have bubbles, and a tangy aroma. If your starter hasn’t changed in this way, repeat the steps for Day 3 for another day or two.
- Before using… discard all but ½ cup of the starter after stirring down. Feed the starter 1 cup of all-purpose flour and ½ cup lukewarm water. Let it rest at room temperature for at least 6 hours. Remove what you need for your recipe.
- Transfer the remainder of your starter to a sealable container. Feed it as usual, allow it to rest for a couple of hours at room temperature, and then transfer it to the refrigerator. Cover it, but allow a bit of air to pass. If you are using a jar, for example, do not screw the lid on tightly. Feed your starter in the same way as Day 3 once per week to keep it going.
BEST NO-FAIL SOURDOUGH BREAD
Before you start:
Rising times depend on the ambient temperature of your home. Rising will take longer in cooler homes.
PREP TIME: 10 mins
BAKE TIME: 50 to 60 mins
TOTAL TIME: 1hr 10 mins + rising time
YIELD one loaf
The Ingredients:
- 5¼ cups bread flour
- 1¾ teaspoons salt
- ¼ cup sourdough starter
- 2 cups lukewarm water
The Method:
- Stir the flour and salt together in a large mixing bowl.
- Add the starter and the water. Mix until completely combined with a sturdy spoon. When the dough becomes sticky and all of the dry flour is gone, scrape down the sides of the bowl with a rubber spatula or bowl scraper and mix a few more times to ensure that everything is fully incorporated.
- Cover the bowl loosely with plastic wrap and a kitchen towel. Allow it to rise until nearly doubled. This could take several hours or overnight.
- Lightly coat a 9″ loaf pan with oil and set aside. Scrape the dough around the sides of the bowl toward the center with a rubber spatula or bowl scraper. The dough will deflate. Continue this action for about 30 seconds.
- Scrape the dough into the loaf pan. Smooth out the top with moistened fingertips. Cover the loaf pan loosely with aluminum foil. Tent the foil a bit in the middle to ensure that it doesn’t touch the top of the dough. Allow the dough to rise until it is about 1 inch from the top of the pan. This could take several hours.
- 30-45 minutes before you are ready to bake, preheat the oven to 425°F.
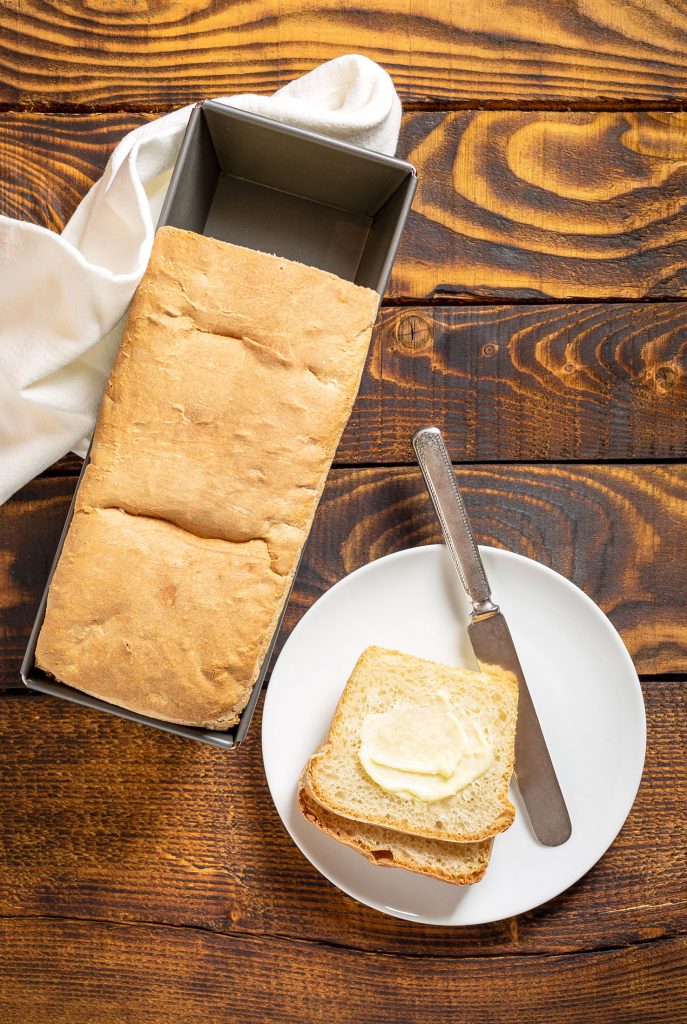
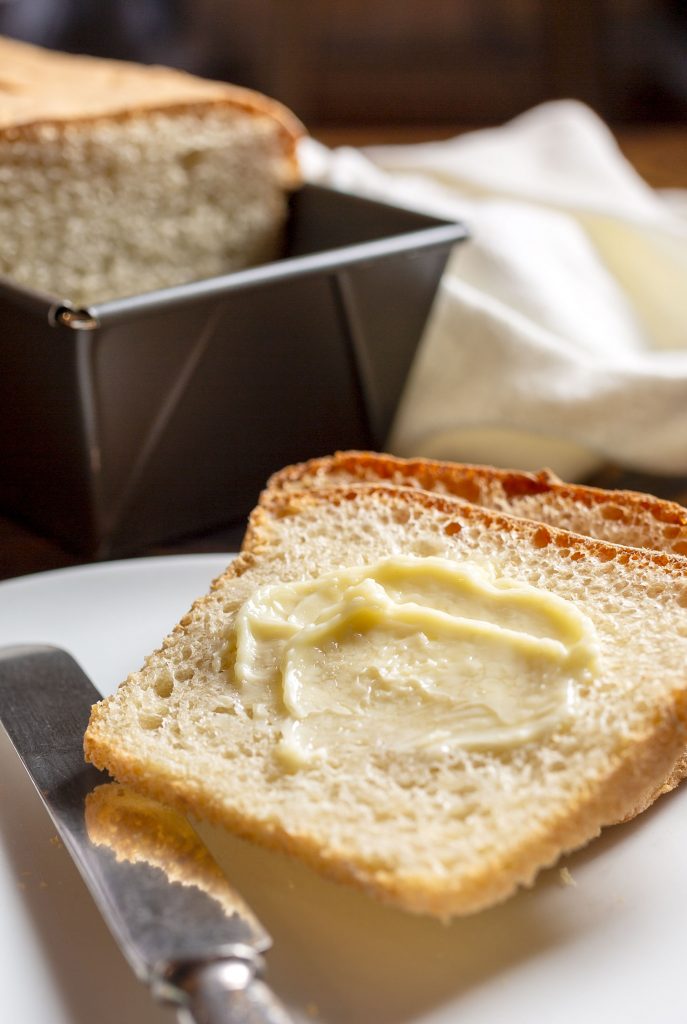
- Bake the bread for 50-60 minutes on the center rack until the crust is light brown and crisp on top. Remove the loaf from the pan and cool it on a wire rack completely before slicing.
The bread will last for several days at room temperature covered in plastic wrap.
FOLLOW US ON INSTAGRAM FOR DAILY INSPIRATION