
I could have also called this post “What I Did With The Scraps From Yesterday’s Project”. I had plenty of wood leftover from the DIY pallet picnic table, so I decided to keep creating. I had an idea for an Art You Can Do project, but I wasn’t certain that it would work. I am pleased to present you with the result.
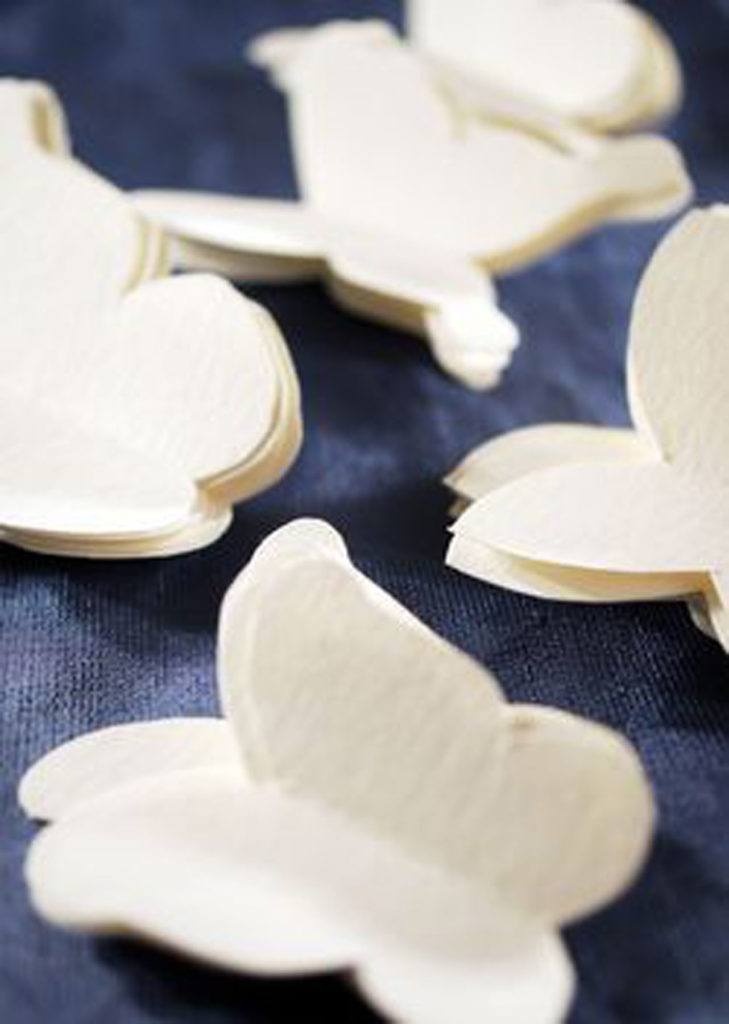
This band of butterflies is more lovely than these pictures can show. The contrast of the light and airy butterflies against the rough and textural aged wood lends even more loftiness to their flight. It’s almost as if they are flittering right through your living room in an organized yet frenzied cluster.
I have been seeing “stick on” butterflies and flowers for some time now. That was sort of the inspiration for this piece. I did want to take it up just a notch by adding some more texture and finish with a backdrop. Also, the wood background gave me the perfect way to add depth and dimension with the use of wire.
The materials were very inexpensive. Because I used scraps of found wood, I was only in for about $5 for the wires. I already had the paper and glue.
This project may seem a little challenging, but I assure you that you CAN do it. Give it a shot and contact me if you have any questions. I look forward to seeing your flock of butterflies.
savour… gossamer wings
BAND OF BUTTERFLIES
Before you start:
If you are making your own butterfly template, be sure to include several sizes and maybe even different shapes for variety.
Regular white school glue should work fine or this project.
You can secure the wire to paper with tape while the glue dries. Use white tape if you plan to leave it attached or light masking tape that can be removed.
If you do not wish to tackle the framing part you could also attach the pallet slats to a pre-made wood frame with thin finishing nails from the back.
I made 50 butterflies of various sizes. You may wish to make more or less depending on the overall size of your piece.
I measured half of the overall length from the center of the old nail holes in each direction on the palette slats so that the holes would line up as closely as possible in the finished product.
Materials:
- Pallet or old scrap wood
- Nails
- Heavy gauge wire (I used the kind with the little orange flags attached that are used to mark things in the ground 1/16 inch diameter)
- Heavyweight paper
- Glue
- Tape
The tools:
- Drill (with drill bit to match wire, in my case 1/16 inch)
- Hammer
- Wire cutters
- Scissors
The method:
- Use the attached butterfly template (download Butterfly Template) or make your own to draw outlines for your butterflies on the paper.
- Carefully cut out each of the butterflies. Set aside.
- Make the background by cutting your scrap wood into pieces. I made mine 44 inches long. With all slats laid out together, it was 26 inches tall.
- Next cut 3 “standards” to which you will attach the slats. These should be as tall as the overall measurement of the laid out slats.
- Attach the long pieces to shorter vertical pieces (standards).
- Assemble frame all the way around using more scrap wood (miter corners if you wish).
- Screw the frame pieces directly into the background (drill pilot holes if necessary).
- With masking tape directly on the background, outline the “band” where the butterflies will go. This should be a somewhat organic shape.
- With a drill bit the size of your wire, drill random holes within the band space you’ve just outlined. Make some holes in clusters.
- Cut your wire into various lengths from 2-6 inches.
- Bend one end of the wire at 1/2 inch.
- Fold butterfly cutouts in half just to create a slight crease. Then unfold.
- Glue wire to the spine of the butterfly.
- Secure with a piece of white tape or light masking tape.
- Allow to dry overnight.
- Poke wires with butterflies attached to pre-drilled holes varying the length of the wire and sizes of butterflies.
- Bend and shape wires as necessary to achieve desired results.


