Piece by piece we are getting closer to a finished SK8R boyz bedroom redux. The pieces and projects are all planned and we are still on track to be done by the end of the month. I am very anxious to finish and share the results with you.
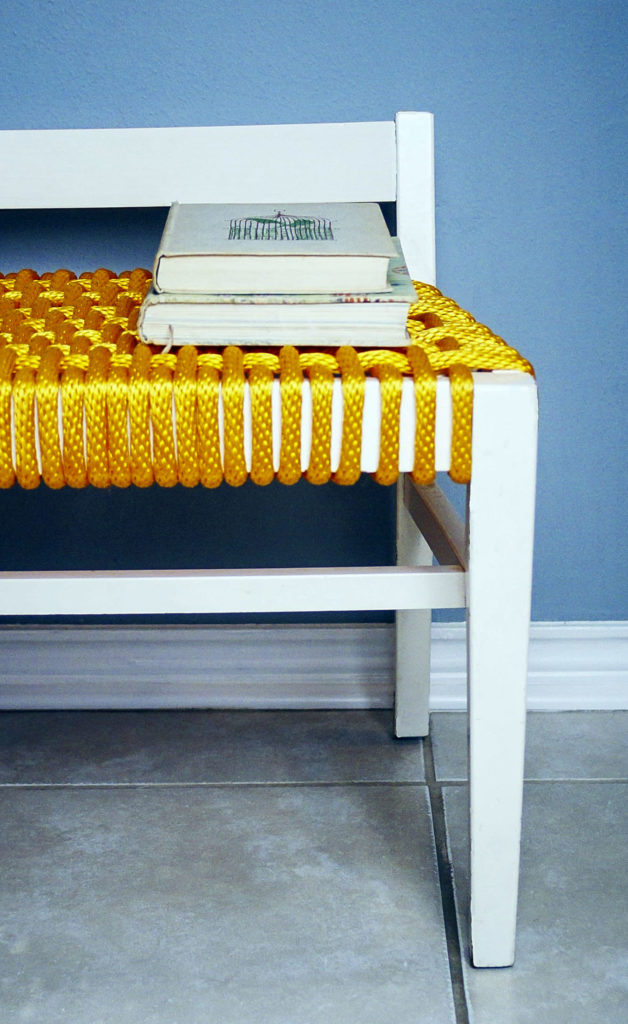
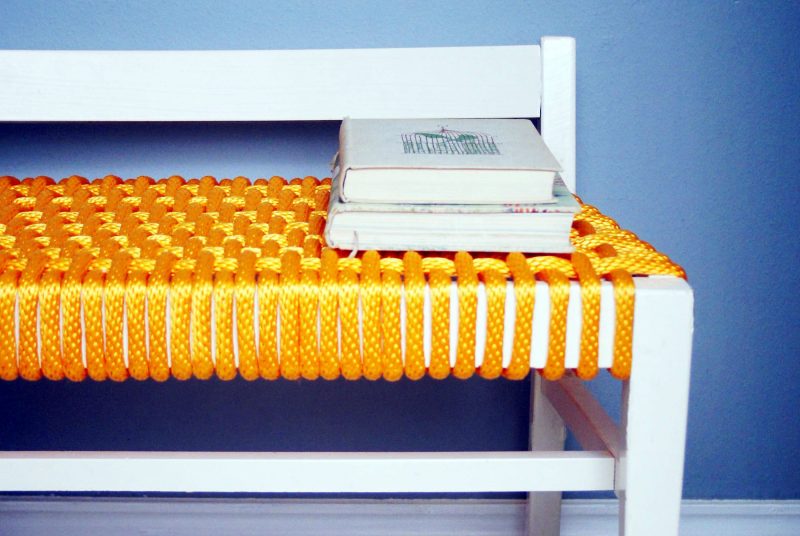
Today we are making over a bench which was on its way out. This was a perfect solution for a bench in the reading area of the bedroom. I used orange towing rope to weave the seat. It adds a punch of color and gives the piece a little urban touch. The seat is sturdy and stylish. I’ll check with the kids, but I think it might even be considered cool.
savour… hardware aisle chic
WOVEN ROPE BENCH
Before you start:
Check your local home improvement center for other types of rope to suit your needs. Mine had no less than 10 different colors/textures from which to choose.
Make sure to get the right sized staples. This is a game changer. Even a few millimeters can make a difference.
This job can be done solo, but it would be easier with two. One person (stronger) can pull and hold the rope in place while the other secures it to the chair.
Working from back to front is imperative. Often times the back of the chair is smaller than the front of the chair. You should be placing your ropes in the center of each segment on the back of the chair and attaching it to what would be the center of the segment on the front of the chair. This will keep them evenly spaced in both places.
You will have far fewer side to side ropes than back to front ropes.
As you place more side to side ropes the tension will build making it more difficult to manage. Go slowly and work one rope at a time.
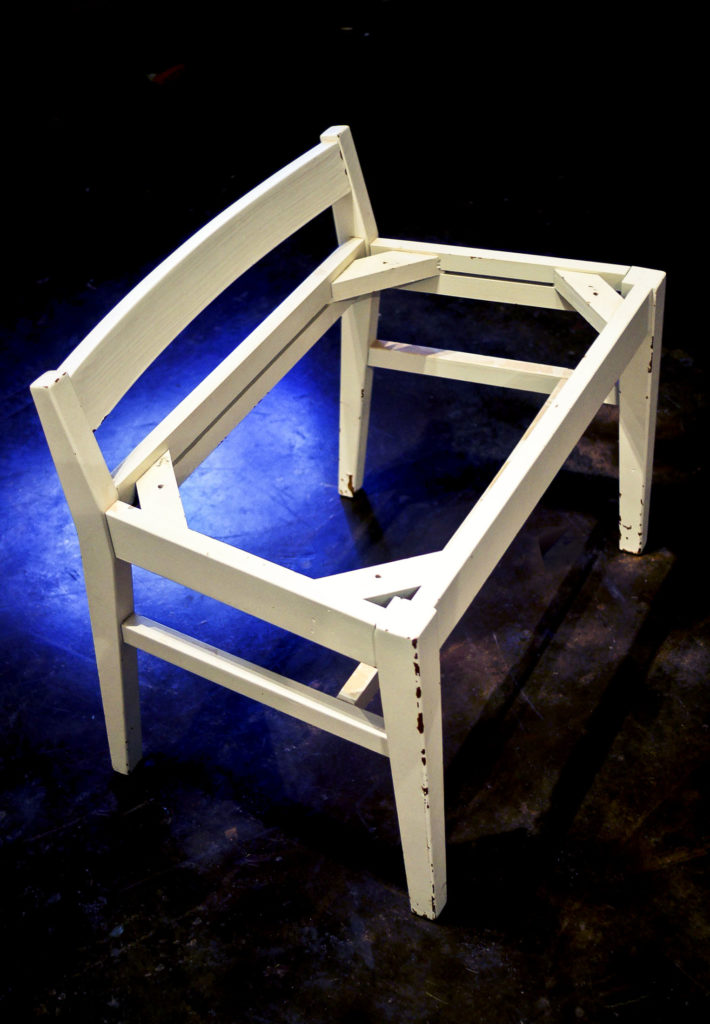
Before:
The materials:
- Bench or chair
- Rope
- Needle nose pliers
- Hammer
- Staple Gun
- Staples
- Lighter
The method:
- Clean up chair frame, remove staples and/or nails as necessary.
- The first rope lengths will go from back to front and be fairly close together.
- Begin by putting one rope on either end and one in the very center. Secure with at least two staples on the underside of the chair and wrap around the frame. Stretch it as tightly as possible with your hands to the other side.
- While holding it tightly in position staple it in place.
- Tap with a hammer to sink staples even further. Cut rope 1/2 inch to 1 inch above staples.
- Place the next pieces halfway between the ropes on the ends and the center rope. You should have 5 ropes attached now.
- Continue placing ropes halfway between each segment until you have filled the space as much as possible. The purpose of this method is to get them evenly spaced. It is fine if there is a little space between each as long as it is consistent.
- When you have finished in this direction, start working from side to side.
- To begin, place the first length of rope as close to the front of the chair as possible. Secure it on the underside and wrap around the frame just as you did the back to front ropes.
- Weave the rope over and under each of the ropes and attach it on the underside of the opposite side of the chair by stapling and tapping with a hammer to secure.
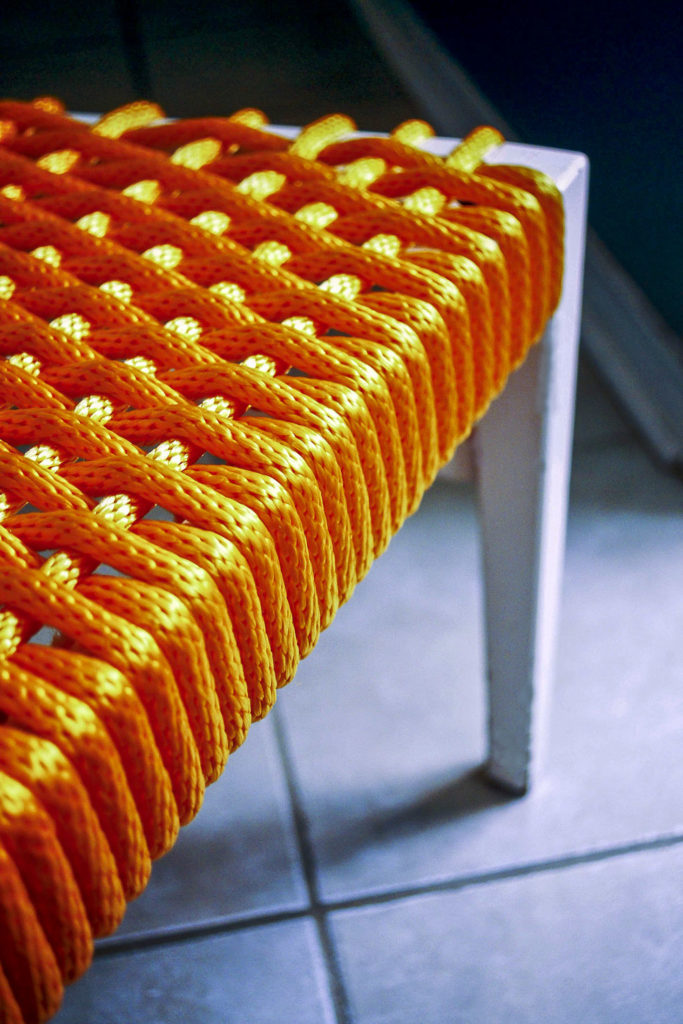
- Continue weaving the ropes through and attaching alternating over and under the ropes to create a basket weave effect. Use your fingertips to push the weave together as tightly as possible before securing.
- Go one more time around the entire underside of the chair with the hammer to make sure all of the ropes are secured.
- Turn the chair on its side and use a lighter to melt the ends of the rope to prevent fraying.
After: