Advances in dryers and fabrics have greatly reduced ironing chores over the years, but there are still things that require ironing. While the convenience of dry cleaning can not be disputed, there are times when you need something pressed immediately or the task is so small that it makes more sense to tackle it yourself. Beyond that, if you are trying to manage your budget, ironing yourself can save you a great deal of money.
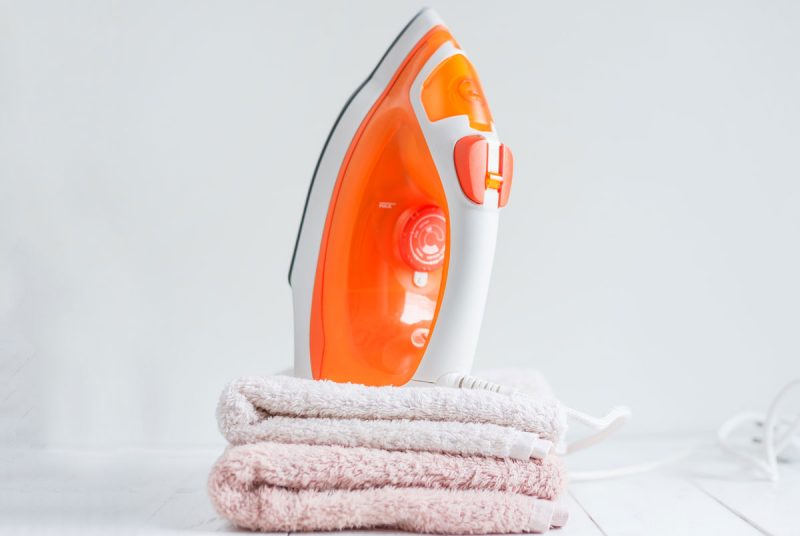
You can expect to pay anywhere from $10 to over $100 for your iron. There is an incredible amount of choices to suit a variety of needs. While you may not need the top of the line iron, a moderately priced one might prevent the need to purchase another in the near future.
While dry irons are available, you will most commonly find steam irons with the option to keep the steam off. The options are seemingly endless (auto shut-off, cordless, vertical steam, etc.).
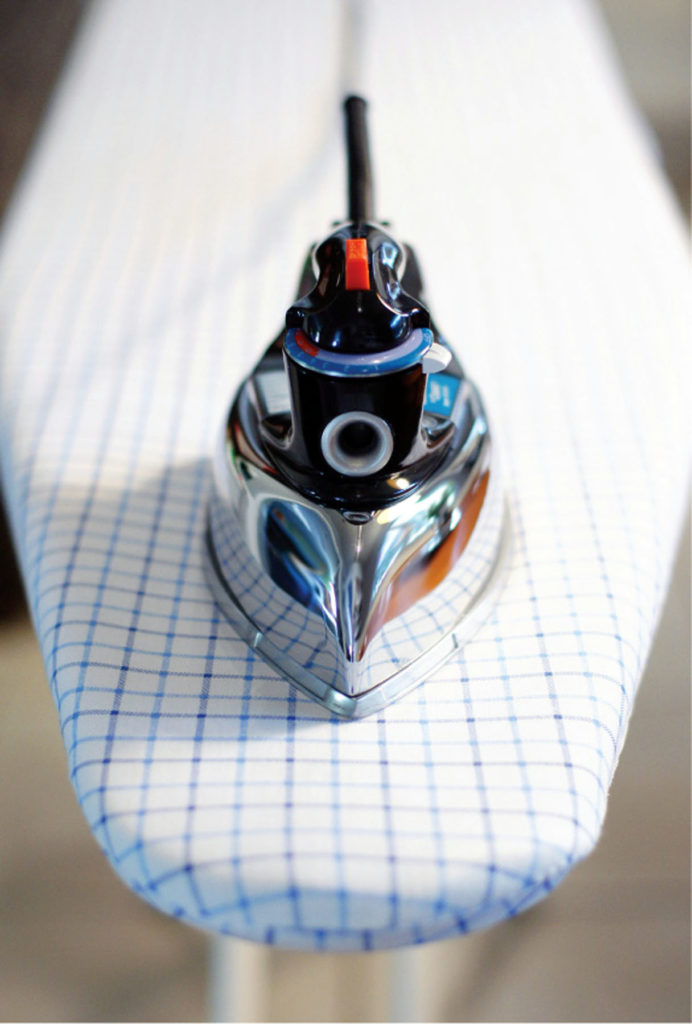
Ironing boards can be purchased for under $20, but some high-end ones cost hundreds of dollars. They are available with features such as a cord manager, iron holder, and clothes hanger. Additionally, you may choose to have a built-in option that neatly stows your board. Board covers also come in a variety of choices. Be sure to find one with plenty of cotton padding to reduce overheating.
savour… straightening things out
IRONING BASICS
What you will need:
- Steam iron
- Ironing board with cover
- Spray bottle
- Ironing cloth
- Spray starch
- Sleeve board (optional)
- Scented ironing water (optional)
Things to consider:
Keep the instructions for your iron. Have a good handle on the cleaning instructions. Some irons will make it very clear; others won’t.
Use spring water or a 50/50 mix of tap and distilled water for your iron. This will reduce the mineral deposits that build up inside the reservoir.
If using ironing/linen water, be sure to use one specifically for ironing. The wrong product could stain your garment.
For best results (and comfort) keep the top of the ironing board level with the top of your hip.
Embroidery is best ironed by laying fabric face down on an ironing cloth made of terry. Press the backside of the fabric with a burst of steam.
Gathers should be pressed on the backside of the fabric working from outer edge toward gather.
Consider pulling clothes to be ironed from the dryer while they are still slightly damp. This will produce better results.
Iron in a back and forth motion. Circular motions can stretch fabric.
If you hear sizzle when you iron, the temperature is up too high.
Understand your clothing label and fabric. Set the iron accordingly.
Here you will find a quick guide for ironing basic garments. How to iron:
Shirt
- Collar – from the underside center, out and back in each direction.
- Shoulder – over the tapered end of the board from shoulder to center and back on both sides.
- Cuff – inside then outside from holes to buttons and back.
- Sleeves – from cuff to shoulder on both sides.
- Body – back then each front panel.
- Collar – outside center, out and back in each direction.
Pants
- Pockets – pulled out and flat on the board.
- Waistband and top of pants – rotated around the end of the ironing board.
- Legs – one on top of the other, fold top leg back and align seams on bottom leg. Press with blasts of steam to create a crease on edges. Flip over and press the backside of the leg. Repeat for the other leg.
*have not found US resource to purchase modern ironing board, but more info is here.

