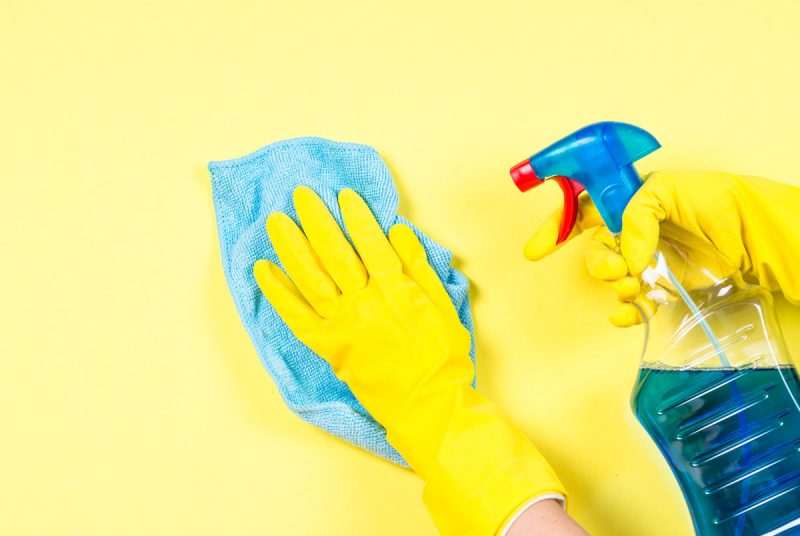
Spring is upon us. For many, that means time to throw open the windows and blow the funk off of the place a little. Typically this includes some deep cleaning. No matter how neat and tidy you are, things can use some extra attention occasionally. In the kitchen, particularly, food finds its way into places that might not be part of your daily cleaning routine. Here we have compiled a checklist/plan for effectively spring cleaning the kitchen and pantry.
WHAT TO DO
This checklist is numbered as it should be followed in the order listed for maximum efficiency and to avoid duplicating your efforts.
- Start with a clean slate – ensure that your normal cleaning is done. Wash and store any dirty dishes. Remove the trash and any other clutter that has gathered. This is a good time to clean and disinfect the trash receptacle.
- Top to bottom – this is the best way to ensure that you won’t soil any areas that you’ve already cleaned. Remove curtains or blinds and clean them. Clean the windows and ceiling fan if you have one. Clean the upper cabinets (inside and outside), the top of the refrigerator, stove hood, etc.
- Counter level – clean the countertops and backsplashes, the stovetop, light switch/outlet covers, etc. Completely clean any countertop appliances. Depending on the appliance a de-greaser may be necessary.
- Cabinet level – as with the upper cabinets, remove everything. Discard or donate items you no longer need or want. Clean the cabinets (inside and outside) and replace the contents. If desired, add or change the shelf liners. (TIP: skip the expense of shelf liners and opt for waxed paper instead. It is equally effective, and because it is so inexpensive you can easily replace it every couple off months if you want. This is also the time to clean major appliances such as the oven, refrigerator, and dishwasher. Again, start from zero by removing everything. Thoroughly clean all of the components and the inside and outside of the appliance and then replace the interior components.
- At the floor – Clean all of the baseboards. Sweep or vacuum the floor and then mop it. Return the trash can, but first… consider adding½ cup of baking soda to the bottom to absorb odors and then a several sheets of newspaper or paper towels to absorb and drips. They can be easily removed and replaced.
THINGS YOU MAY NEED
What you use to clean is up to you. Here we have compiled a list of possible needs to help you in your efforts.
- Boxes or bags for clutter and donations
- Shelf or cabinet liner and drawer dividers
- Broom or vacuum
- Mop
- A long-handled duster
- Step stool
- Microfiber cloths
- Rubber gloves
- Small bucket with handle
- Sponges
- Baking soda
- All-purpose cleaner, dishsoap, or mild cleanser of choice
- Floor cleaner
- Glass cleaner
- Oven cleaner
- Furniture polish
Finally, don’t let yourself become overwhelmed. Only take on what you can manage and plan according to the time you have. Be sure to factor in your REAL level of commitment. Don’t be ashamed to hire someone for the really tough stuff or tasks you just don’t want to do.
GOT STAINS? CHECK OUT OUR STAIN REMOVAL GUIDE FOR JUST ABOUT EVERYTHING.
AND DON’T FORGET SOME MUSIC! HERE’S OUR SPRING CLEANING PLAYLIST.


